


You want the the best embroidered results for your customer with the least hassle and minimal sampling. It goes without saying that if you are using outsourced digitizing, there’s a certain amount of that outcome that may feel like it’s out of your control. That said, there are three key pieces of information you can give your digitizer to make it more likely for your first sample to be the last sample and to avoid the cycle of edits.
Desired Finished size
Machine embroidery is defined by fixed measurements; the dimensions of the thread and the diameter of the needle dictate things like density, recommended maximum and minimum stitch lengths, and the distances between elements that results in reliably clear and ‘legible’ stitching. Clueing your digitizer in on the finished size that challenges what’s physically possible in embroidery may mean a little compromise is in order, but not stating that desired dimension may have your digitizer creating easier to execute, and often undesirably large version when small details begin to crowd the design.
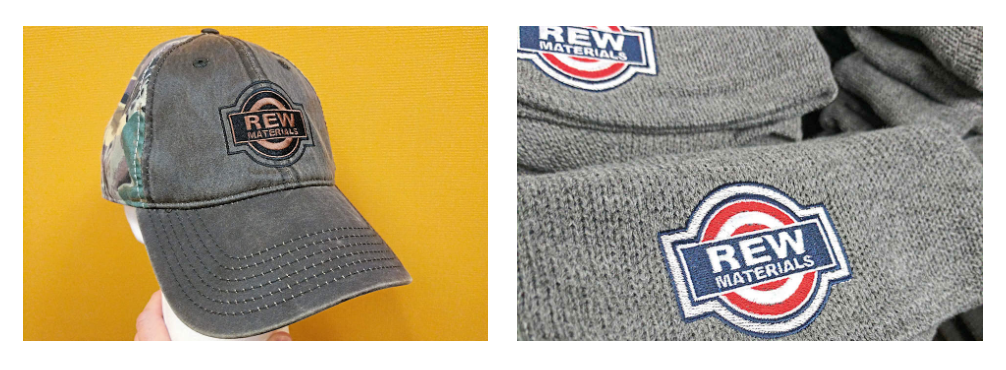
Fabric specs
You never know how a design truly runs until you stitch it on the final garment. A good digitizer can compensate for the quirks in any given material, but only if they know the material on which they are expected to stitch their design. With unstable, stretchy, lofty, high-pile, or highly textured materials, the digitizing can make a tremendous difference in the success of your design. Depending on garment weight and stretch, density, sequence and underlay can be adjusted for the best coverage with the least distortion. Moreover, even the level contrast between thread and garment can play into how ‘heavy’ a hand your digitizer will use in establishing densities. Without garment information, a digitizer can only create a ‘universal’ file that attempts complete coverage under most normal situations, and will undoubtedly create a heavier, more stitch intensive rendition to cover all bases.
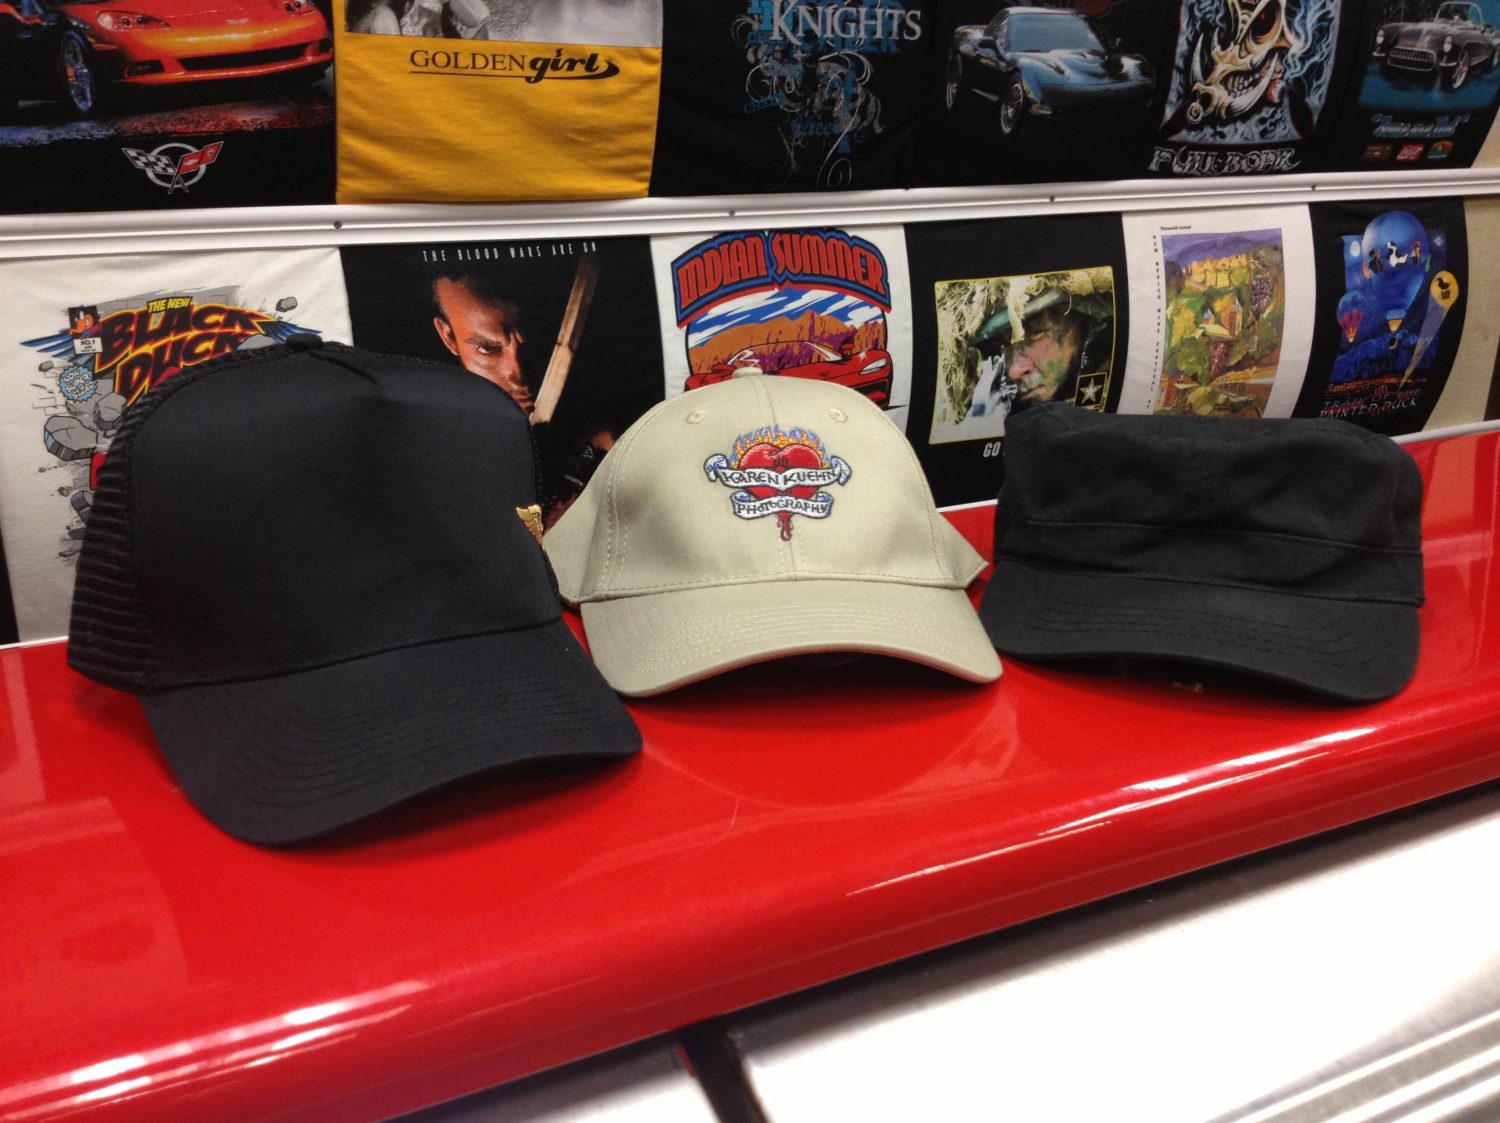
Garment type/construction
Embroiderers of any experience know that cap designs run best when sequenced from the bottom center of the design and move up and out to the edges to properly affix the cap’s crown to the stabilizer and maintain smooth running and registration, that said many embroiderers forget to mention the crown height, style, stability, and seams that may affect the design when communicating with their digitizer. All of these peculiarities can affect the selected size and sequence, and may even change underlayment and object positions, depending on the structure that plagues the crown. The same can be said of all garments with potentially disruptive features; jackets with oddly shaped, heavy seamed panels, slippery multi-layer quilted pieces, bags with a smattering of zippers, stays, and grommets that may affect hooping or running; all of these may require a digitizer to change a design’s structure so as to make the run smoother or to avoid potential quality issues. Letting your digitizer know the model and structure of the garment you are using and where the decoration has to land can allow them to provide stitches and setup tips to help solve problems with construction before they start
Communication is Key
Though all digitizers will work from the information you give, and some standard applications don’t require the breadth of detail discussed here, knowing the factors that affect your outcome and keeping your digitizer in the know can only improve your eventual product and make your process more efficient in production. Take the time to talk it over.

Great,. Thinking of having my granddaughters portrait done. Thanks