


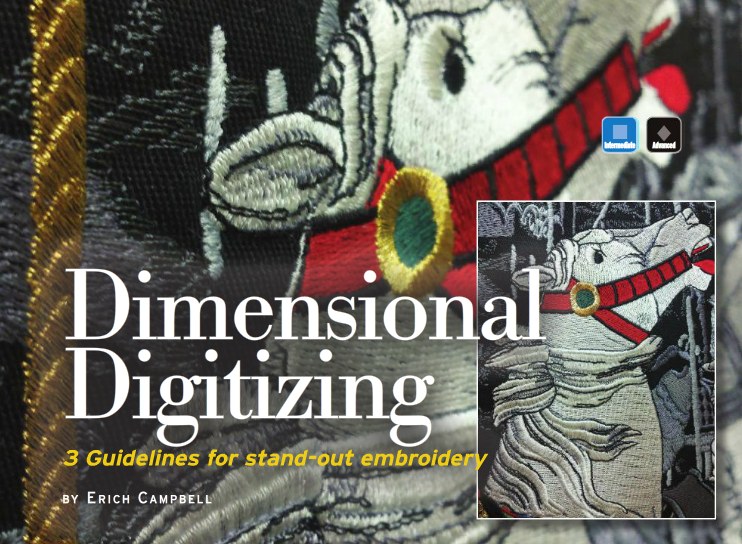
My latest article for Printwear magazine covers a subject near and dear to my heart, the style of machine embroidery digitizing that I call ‘dimensional digitizing’. In this month’s Printwear, I present a ton of tips for how to use stitch types, stitch angles, texture and layering to achieve depth in your embroidery.
For those of you time-starved skimmers who just want the highlights, here’s the article’s three main points:
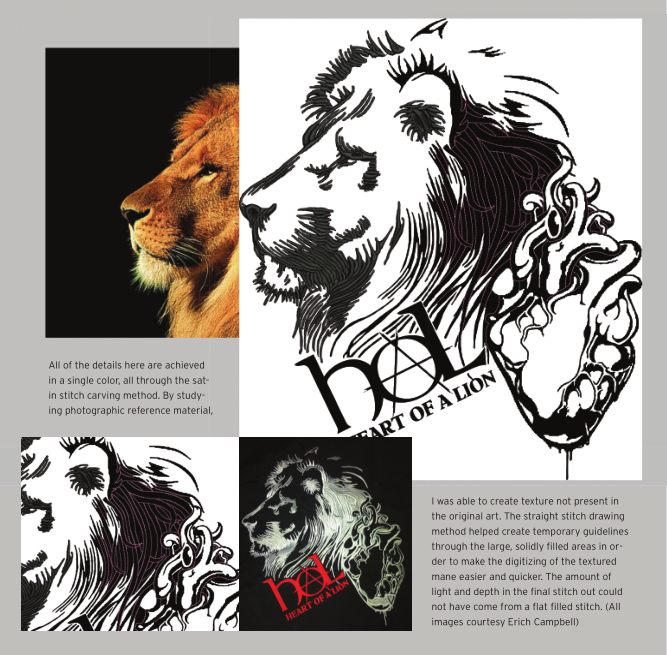
#1: Observe and Delineate ‘Real’ Structures
Work from photographic reference of the item, animal, person you are trying to depict, and ‘carve’ the real structures you see, using discrete elements. A satin-stitch arm leaps out from a flat-stitched body, and different angles on body panels of any piece of machinery or vehicle can alter the play of light over the surface and add a sense of space. Even if the art you are looking at doesn’t show the structures, you can use photo reference to help you place them.

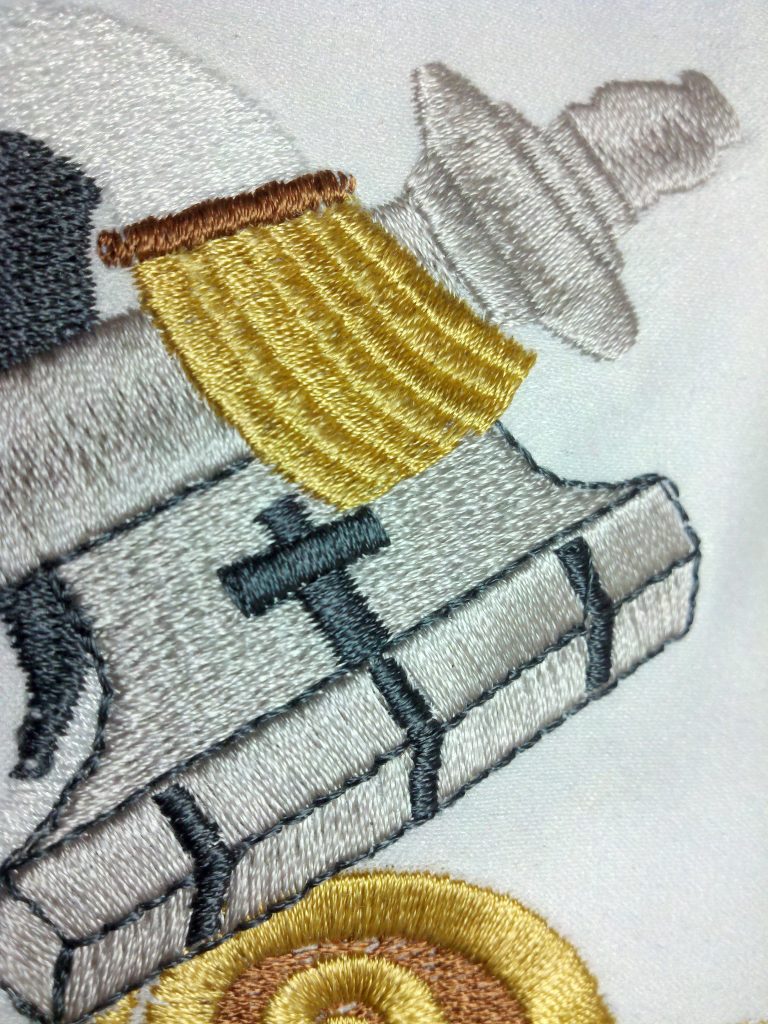
#2: Use stitch types and angles that Fit with the ‘real’ placement of each structure
Satin stitches are great to depict roughly cylindrical objects—i.e. arms, fingers, the bridge of a nose, or the tailpipe or roll-cage of a car. Fill stitches best express large, flat expanses, like doors or quarter panels on cars. Use the textural and light-reflecting qualities of your stitch types; let objects that would be rough have random-legth or layered stitched that make the actual surface rough, let shiny surfaces have longer, more regular stitches. Use the lines in the art as well as the type of surface represented guide you.
#3: Sequence and layer in ‘real’ depth
Wherever possible, layer elements behind the plane of an image first, building up to the ‘nearest’ element of the design. In the example of a flag on a pole, stitch the pole first, and layer the flag over it, allowing the stitches to literally overlap as they do in life, the pole beneath or behind the flag. Any
element, realistic or graphical, should be layered logically. Real overlaps give a sense of hierarchy that can’t be beat.
If you want to take your digitizing beyond fields of flat fill, I think you’ll benefit from a tour through the full article (not to mention the host of great pictures!) Dimensional Digitizing – 3 Guidelines for Standout Embroidery.

LEAVE A COMMENT